Introduction
S-Docs allows you to use Microsoft Word templates for document generation. This feature allows you to:
- Easily import pre-existing DOCX files
- Leverage Microsoft Word features like Restricted Editing, Table of Contents, Redlining, and more
- Generate dynamic Microsoft Word documents populated with Salesforce data
This guide will teach you how to create DOCX templates using the correct S-Docs syntax for merge fields, related lists, conditional logic, and more, and upload your DOCX templates to S-Docs.
Create Your DOCX Template Record
S-Docs DOCX templates are authored in Microsoft Word, but they rely on S-Docs syntax to merge in dynamic Salesforce data. To access this syntax, you will first create a DOCX template record in Salesforce (even before your Word file is ready). You'll then use the S-Docs Template Editor to generate syntax for dynamic data you'd like to display, and copy this syntax into your DOCX template. After this, you'll upload your completed DOCX template to the template record so that users can generate documents with it.
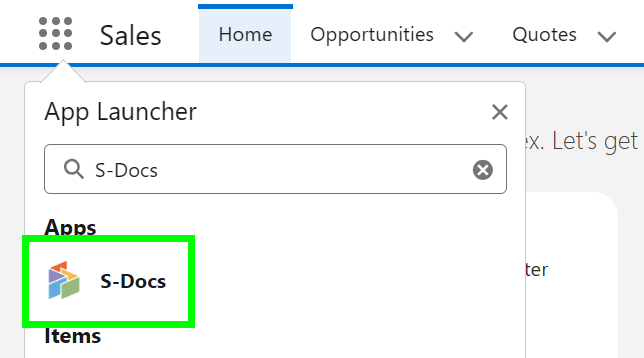
To create a DOCX template record, start by navigating to the S-Docs Template object. Click the App Launcher, type "S-Docs," and click the S-Docs app.
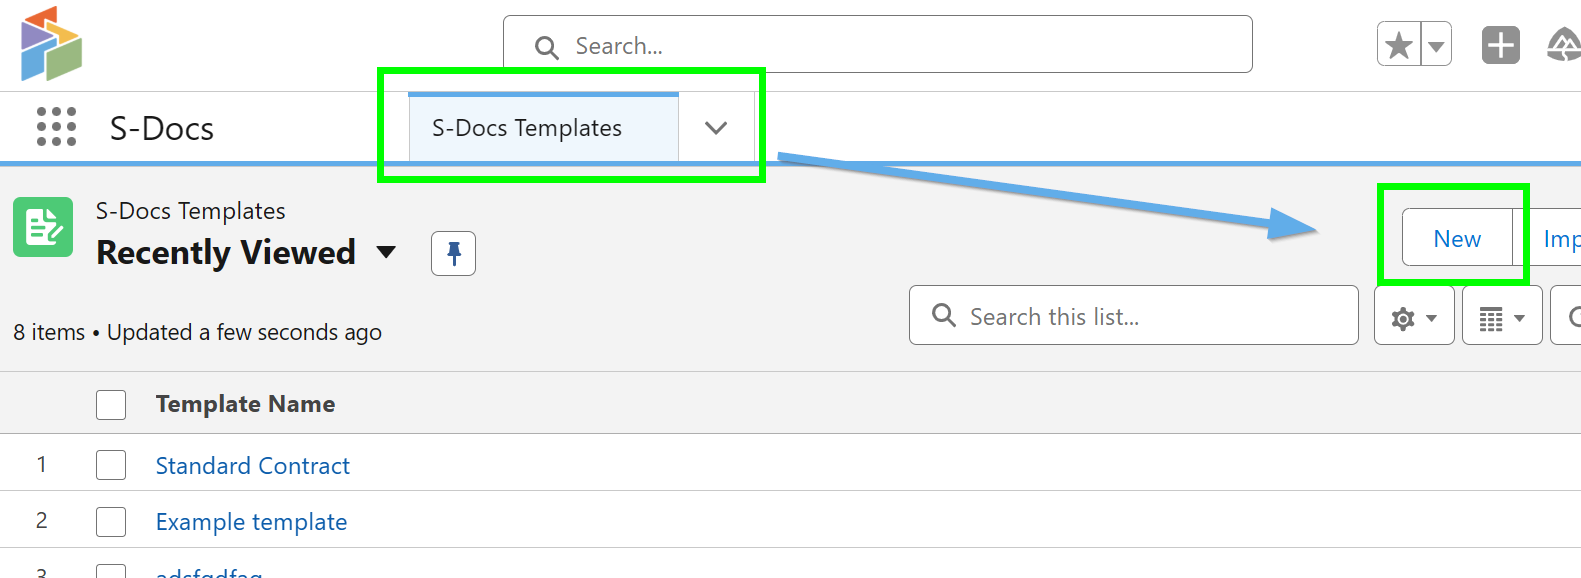
Switch to the S-Docs Templates tab and click New.
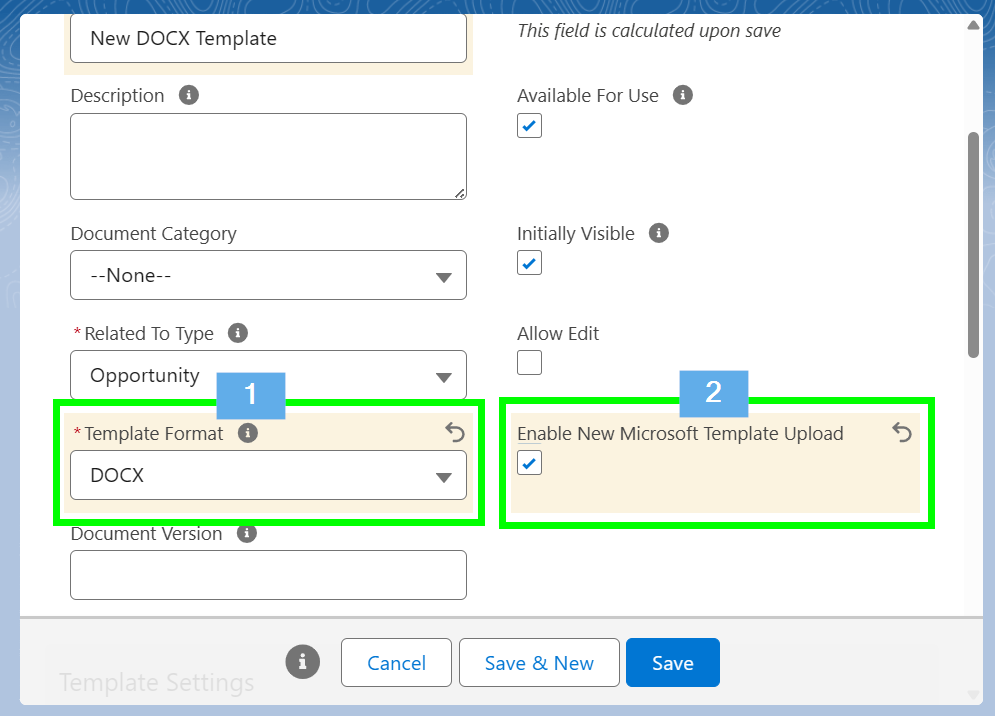
Click on the Template Format drop-down field and [1] choose DOCX. If you are using S-Docs Summer 2025 (10.0) or greater, the [2] Enable New Microsoft Template Upload checkbox will appear. Check this box. Click Save.
Access Syntax and Build Your Template in Microsoft Word
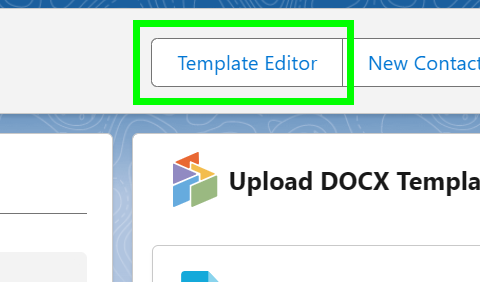
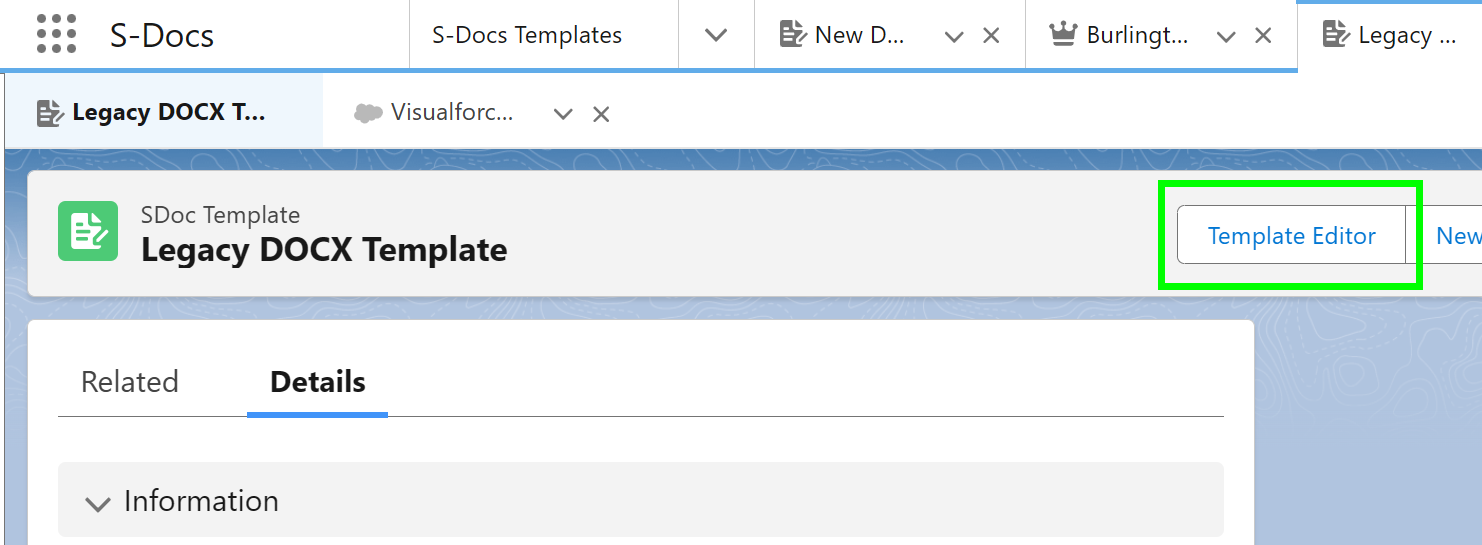
Once your template record is saved, click Template Editor on the template record detail page.
The DOCX template editor allows you to [1] edit file settings and other advanced options, and [2] access syntax to paste into your Microsoft Word document that enables dynamic data and conditional logic to function when the document is generated.

Merge Field Syntax
Brackets are required around merge field, related list, and conditional logic syntax in DOCX templates. The template editor allows you to easily build this syntax.
Click Insert Field at the top of the template editor to access merge fields. Select your field, apply any formatting, then copy the result in the text box at the bottom of the menu.
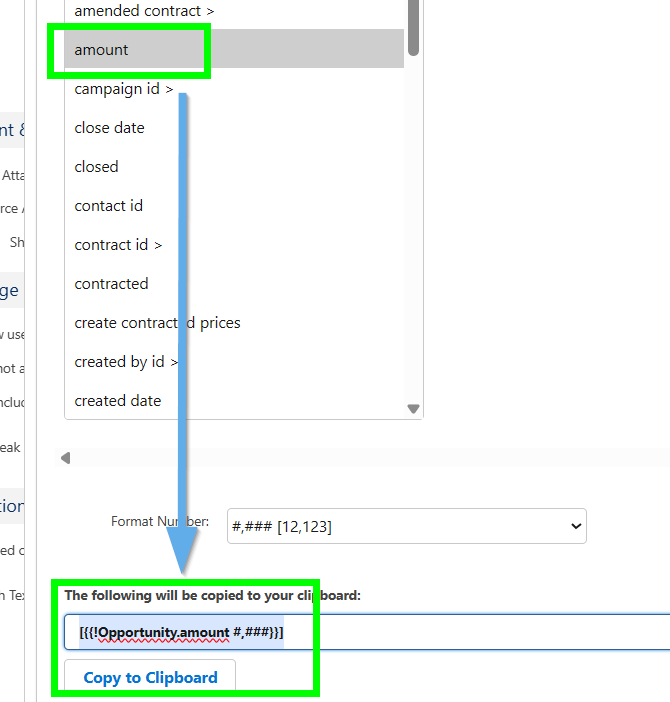
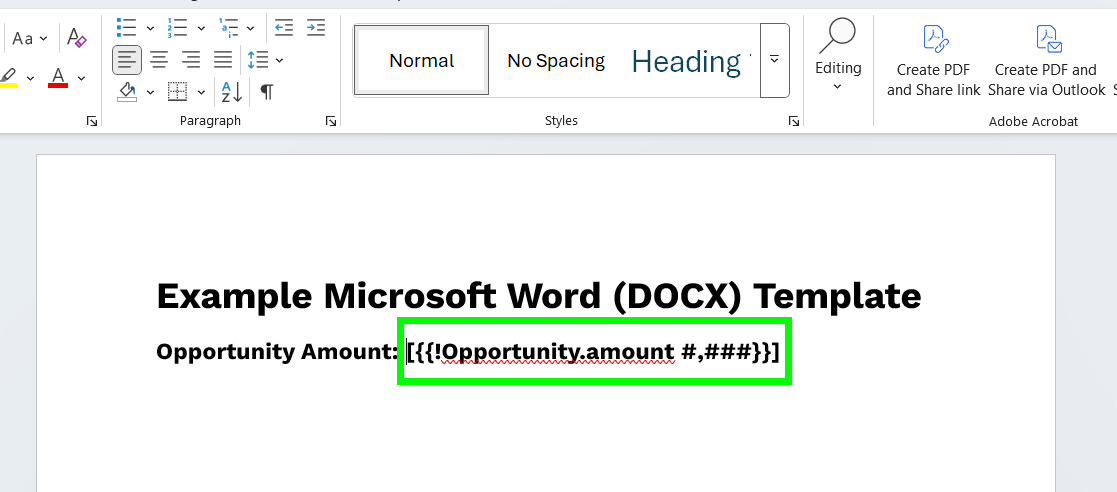
Paste the syntax into your Microsoft Word document.
Related List Syntax
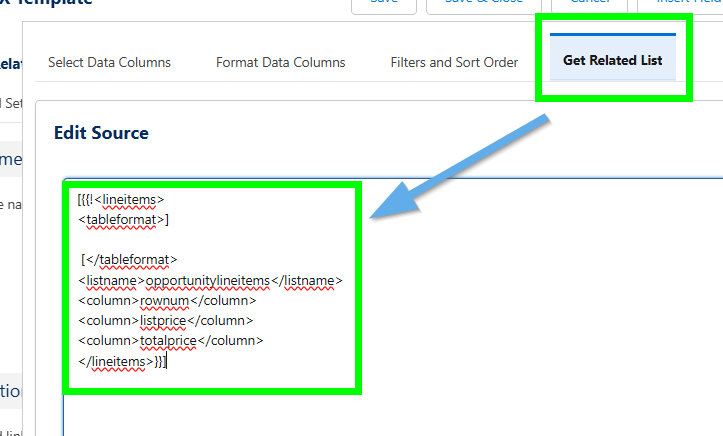
To insert a related list into a DOCX template, syntax must be generated and pasted around a prebuilt styling table. Click Insert Related List at the top of the template editor to access the related list menu. Use the tool to build your related list. When you're ready to insert it into your Microsoft Word document, navigate to the Get Related List tab within the related list menu and copy the source.
In your Microsoft Word document, create a styling table that includes the following:
- Header row with intended header text
- Odd row with placeholder text
- Even row with placeholder text
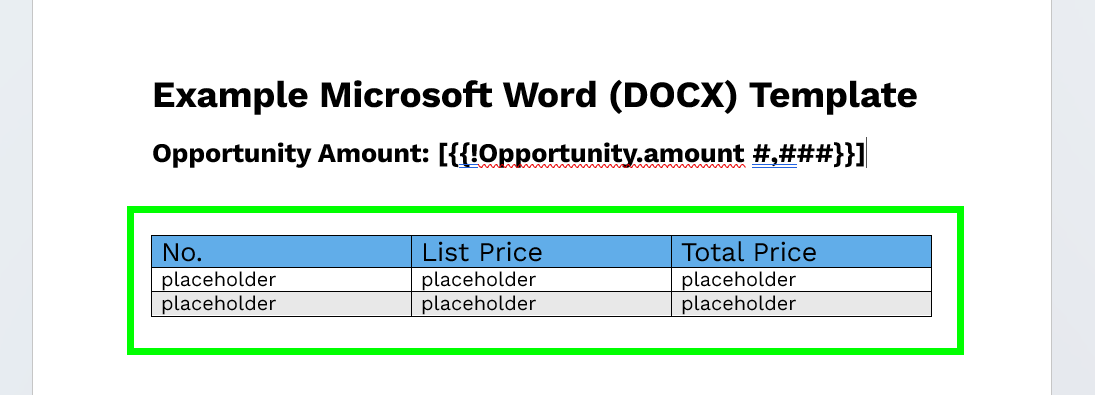
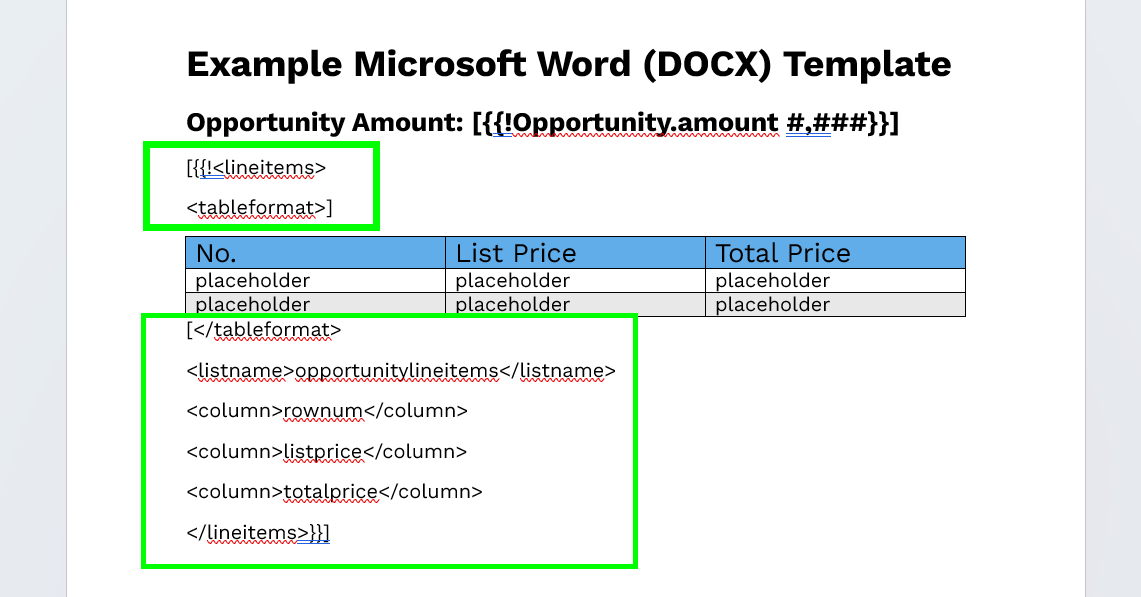
Next, place the first bracket-enclosed related list code snippet above your table, and the second bracket-enclosed code snippet below your table, as shown below.
[{{!<lineitems>
<tableformat>]

//Your Table Here

[</tableformat>
<listname>opportunitylineitems</listname>
<column>rownum</column>
<column prefix="$">listprice</column>
<column prefix="$">totalprice</column>
</lineitems>}}]
Conditional Logic Syntax
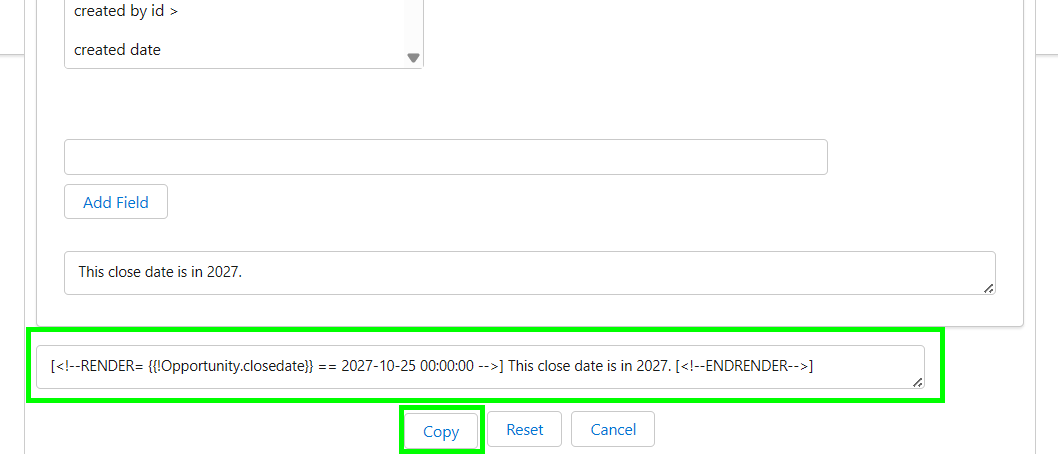
Click Insert Conditional Logic at the top of the template editor to access the logic builder. Build your conditional statement and copy the output at the bottom of the conditional logic menu. Click here for more information on using conditional logic with S-Docs.
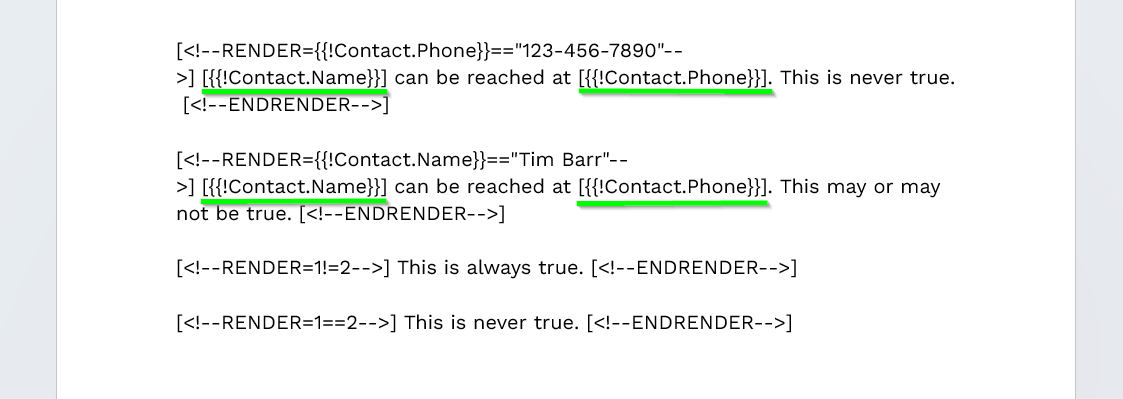
Note that if conditionally rendered content contains merge fields, those are required to be enclosed within brackets too (see example below).
[<!--RENDER={{!Contact.Phone}}=="123-456-7890"-->]
[{{!Contact.Name}}] can be reached at [{{!Contact.Phone}}]. This is never true.
[<!--ENDRENDER-->]

[<!--RENDER={{!Contact.Name}}=="Tim Barr"-->]
[{{!Contact.Name}}] can be reached at [{{!Contact.Phone}}]. This may or may not be true.
[<!--ENDRENDER-->]

[<!--RENDER=1!=2-->]
This is always true.
[<!--ENDRENDER-->]

[<!--RENDER=1==2-->]
This is never true.
[<!--ENDRENDER-->]
Additional Syntax
Rich Text Images
You can display images stored in rich text fields by surrounding the merge field in three curly braces instead of two, as shown below.
[{{{!Object.FieldName}}}]
To adjust the image dimensions, navigate to the Document Options tab of the template editor, scroll down to the Other Options section, and input your desired dimensions into the Rich Text Image Dimensions field, as shown below.

Rich Text Font
Fonts and font sizes are not pulled from Salesforce rich text fields into your DOCX document - they will simply match Microsoft Word's "Normal" style. If you want your document to display the font from your rich text field, you can either change Microsoft Word's "Normal" style to match the desired font/font size, or use the font-family and font-size merge field attributes. For example, if your rich text field is written in Arial font at size 12, your merge field might look like this:
[{{!Object.FieldName font-family="Arial" font-size="12"}}]
Named Queries
If you're using named queries in your DOCX template, you'll need to convert them to the DOCX format. If your named query looked like this:
<!--{{!<LineItemsSOQL>
...
</LineItemsSOQL>}}-->
{{!myQuery1.fieldname}}
You'd need to update it to this syntax:
[{{!<LineItemsSOQL>
...
</LineItemsSOQL>}}]
[{{!myQuery1.fieldname}}]
Upload Your DOCX Template to S-Docs
After building your Microsoft Word template, you can upload the DOCX file to your template record.
Template upload and generation methods differ based on what version of S-Docs you are using.
S-Docs Summer 2025 (10.0)+
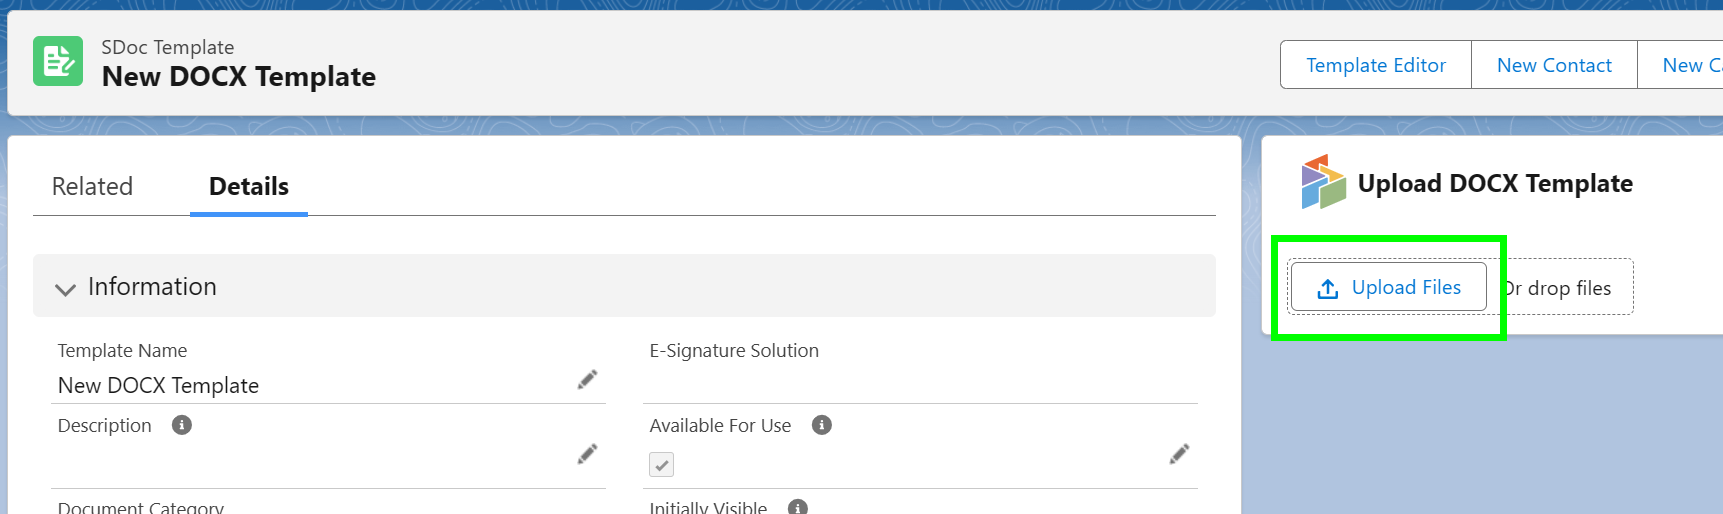
If you are using S-Docs Summer 2025 or greater and checked the Enable New Microsoft Template Upload checkbox, a new Lightning Web Component will appear on your template record. Click Upload Files to upload your DOCX file to S-Docs.
Once your DOCX template is uploaded, you can add it as an available template for generation on the related object's Generate Documents LWC.
Below S-Docs Summer 2025 (below 10.0)
If you are using a version of S-Docs below Summer 2025 (10.0), or you require generation using the custom S-Docs button method (instead of the LWC/SDK) and haven't checked Enable New Microsoft Template Upload, click the Template Editor button on the template record.
Under the Upload New DOCX Template tab, click Choose File and upload your Microsoft Word template.

After selecting the file, you will see a message indicating that your file is uploading. In a matter of seconds, your template will successfully upload.

Once your DOCX template is uploaded, you can generate it using the legacy custom button generation method (see Option 2 in our installation and configuration article).
Uploading Bulk DOCX Templates
You can create a large number of DOCX templates at one time using the Bulk DOCX Upload feature. The Bulk DOCX Upload page can be accessed through the S-Docs Setup page.
To navigate to the S-Docs Setup page, click the App Launcher in the upper left corner, type "S-Docs" into the search field.
Switch to the S-Docs Setup tab.
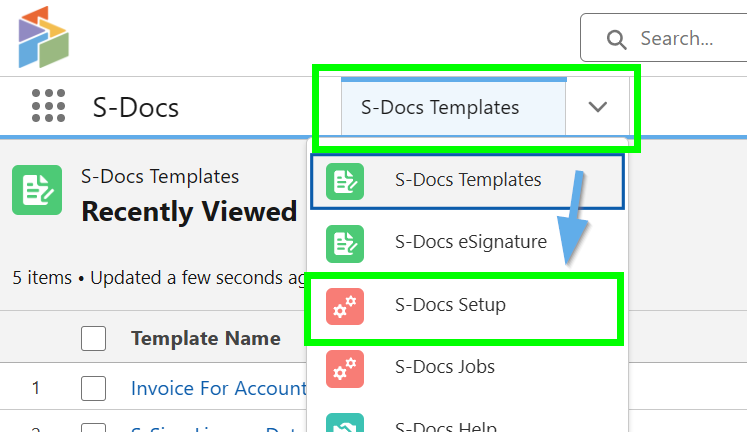
Scroll down to the Other Pages section and click Go to Bulk DOCX Upload Page.
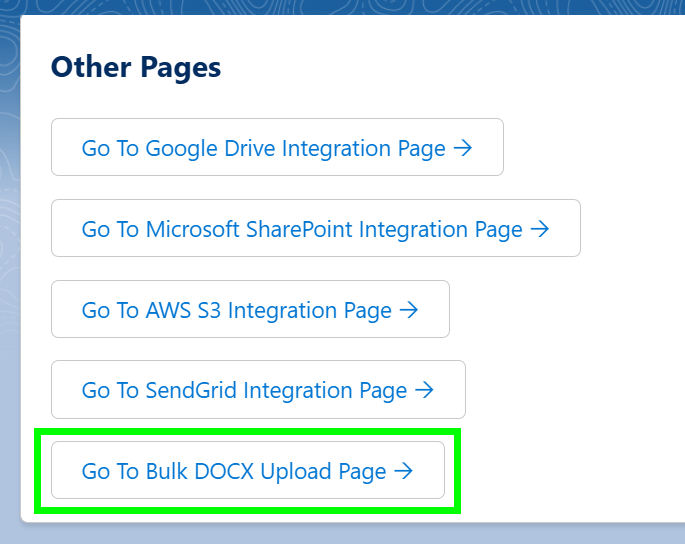
The Bulk DOCX Upload page appears as follows:

[1] To begin, choose the object that your templates will be related to.
[2] Next, click Choose Files to select as many DOCX templates as you'd like. Each file chosen will create an S-Docs template.
[3] Check the Legacy syntax checkbox if you're using the older DOCX syntax, which is no longer supported.