Introduction
S-Docs is fully compatible with any custom objects you may create, including objects from other AppExchange apps. Your documents can span many relationships to include data from formula fields, rich text, parent records, child, grandchild, and related objects - all within the same document.
This article details the steps you need to take in order to enable S-Docs to work with custom objects.
Step 1: Add your custom object API name to the Related to type field on the "SDoc Template" object
This step will enable you to create new S-Docs templates that are related to your custom object.
Navigate to the Setup menu by clicking the cog icon in the upper right, click the Object Manager tab, then click on the S-Doc Template object.
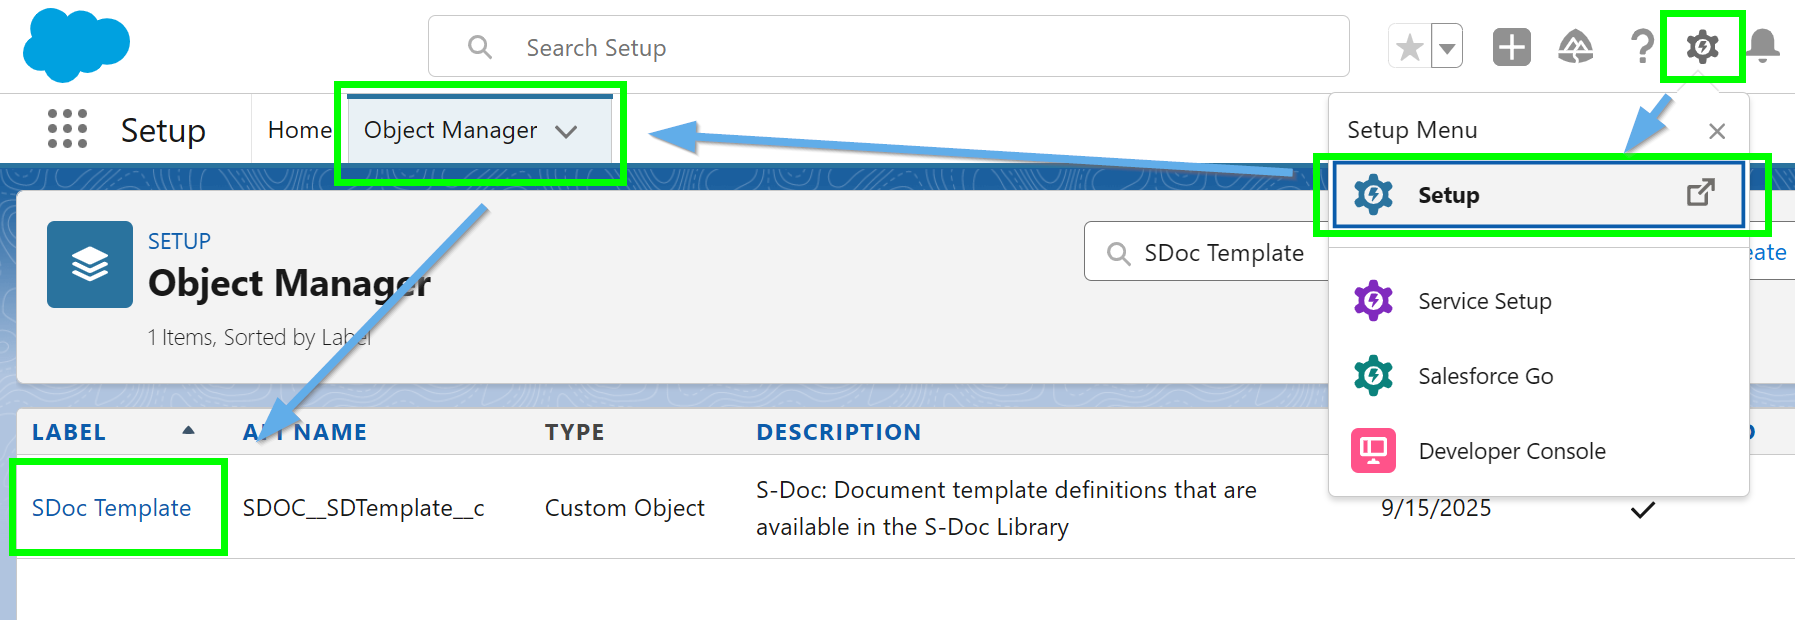
Click on Fields & Relationships in the sidebar, then click on the Related to Type field.

Scroll down to the Values section and click the New button.

Add your custom object’s API name (e.g. CustomObj__c) as a picklist value, then click Save.

As a reminder, you should substitute your custom object’s API name (not use the example CustomObj__c shown above).
Step 2: Add a lookup field to your custom object on the SDoc Relationship object
This step allows you to associate generated documents with your Custom object. It is required for users generating documents via the S-Docs Software Development Kit (SDK). It also enables you to add the S-Docs related list to your custom object page layout so that users can see a list of all S-Docs created on your Custom Object's page layout.
In the Setup menu (the gear in the upper right corner), navigate to the Object Manager tab and select SDoc Relationship.

Click Fields & Relationships in the sidebar, then click New.

Follow the New Custom Field steps:
Step 1 of 6 - Pick Lookup Relationship. Click Next.

Step 2 of 6 - Select your Custom Object (e.g. CustomObj__c) from picklist values, then click Next.
 Step 3 of 6* - Field label and field name should be your custom object name without the “__c.” In our example it would be "CustomObj." Click Next.

Step 4 of 6 - Checkbox should be visible for all users. Click Next.

Step 5 of 6 - Checkbox should add the field for the layout.

Step 6 of 6 - Accept default. Click Save.

Step 3: Create a button to place it on your custom object page layout [Optional]
If you plan to generate files other than PDFs for your custom object, you must add a custom S-Docs button to your custom object's record detail page layout. Users will click the button to initiate creating a document from the record detail page.
Create the S-Docs button
Navigate back to the Object Manager in the Setup menu and click on the name of your custom object.
Click Buttons, Links, and Actions in the sidebar and click New Button or Link.

- Button Label: Choose a label (e.g. "S-Docs")
- Display Type: Detail Page Button
- Behavior: Display in existing window without sidebar or header
- Content Source: URL
- Use the following URL (note that double underscores are used in three places):
{!URLFOR('/apex/SDOC__SDCreate1', null,[id=CustomObj__c.Id, Object='CustomObj__c'])}
Click Save.
Step 2b: Place button on your page layout
Navigate back to the Object Manager in the Setup menu and click the name of your custom object.

Click on Page Layouts in the sidebar, then click the Edit link (you will repeat this for each page layout that you want the S-Docs button to appear in).

In the layout editor, scroll down to the “Salesforce Mobile and Lightning Experience Actions” section and click override the predefined actions.

Then, click Mobile & Lightning Actions in the top menu. Find the S-Docs button you just created, and drag it down into the Salesforce Mobile and Lightning Experience Actions section.

Be sure to click Save to apply the changes to the page layout and repeat steps 3-6 for any other layouts where you would like to add the button.
To use this new S-Docs button, you need to create at least one template that's related to your custom object. Click here to learn more about creating S-Docs templates.