1. Download Your Template From The S-Docs Website
Importing a template into S-Docs is quick and easy. First, find the template you want to download in our template library. Fill out the form associated with it (in this example, we will use an MSA). Click Submit.

Then, download the template format you need (PDF or Word document) by clicking the respective Download button. A .zip file will be downloaded to your local device.

2. Import into S-Docs
Next, click the Import into S-Docs button. You will then be prompted to log into your Salesforce instance.
3. Log into Salesforce

4. Upload your templates
Click Choose File. Select the corresponding .zip file that you want to upload to S-Docs.

Click Start Import.

The Template Migrator will display a success message when your template has been successfully imported.

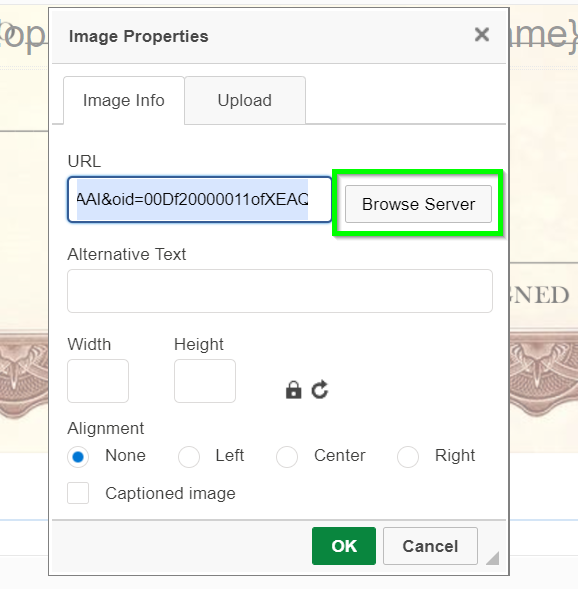
Find any images in your template, double-click them, and then click Browse Server in the menu that pops up.
Edit & Generate Your Template
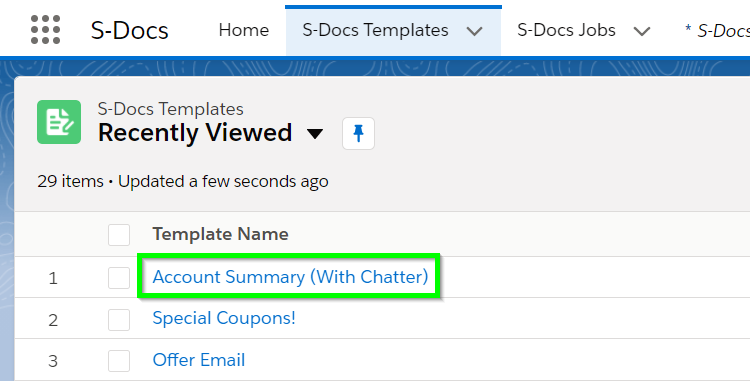
When you navigate to the S-Docs Templates tab in Salesforce, your imported template will be available in your template list.
You can now edit your imported template, or begin generating documents with it immediately.